A Guide to Using Action Cameras on Bicycles
1 Comments

Introduction
Action cameras like GoPros let cyclists easily capture exciting first-person footage while riding. But getting great video requires some strategy. This article will cover action cam basics and provide tips for effectively using them on bikes. Learn camera mounts, settings, shooting techniques, and editing to make engaging cycling videos.
Choosing Camera Mounts for Bikes
Mounting securely is crucial for clear video:
Helmet Front Mounts
Helmet fronts provide a rider's point of view. Angle slightly down to include some bike. Avoid aiming too low at ground only.
Handlebar Mounts
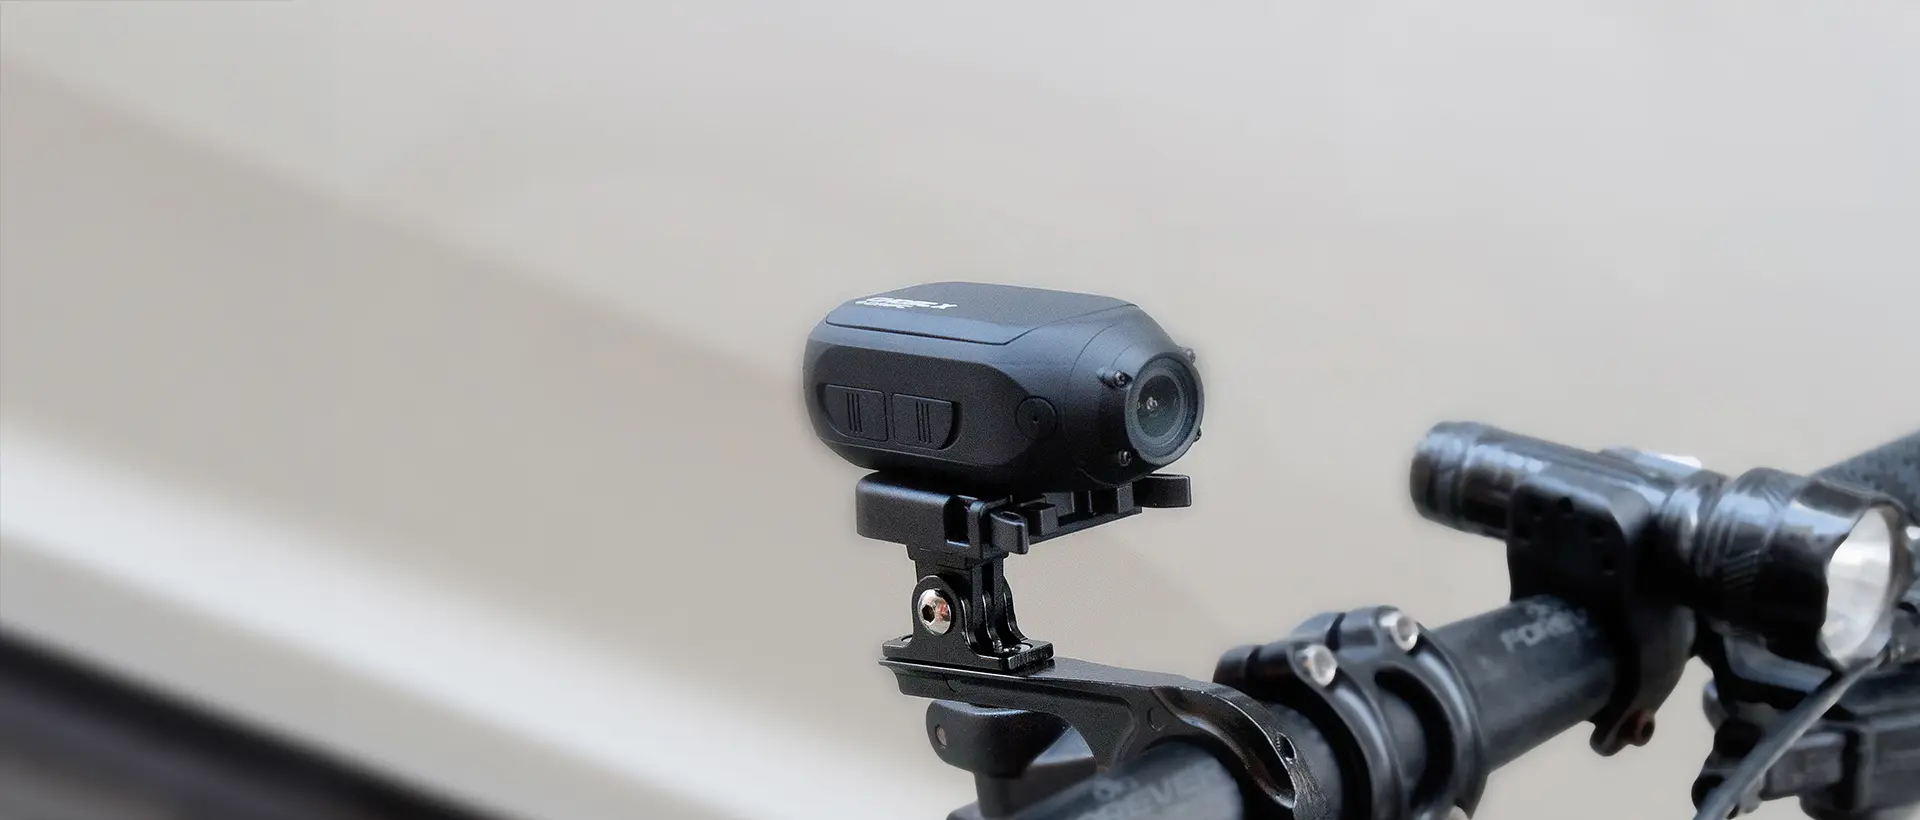
Handlebar mounts placed close to stem show hand positioning. Adjust angle up to include rider.
Chest Mounts
Chest mounts capture natural upper body movement. Works well for mountain biking trick shots.
Camera Settings and Shooting Tips
Optimizing settings improves bicycle footage:
Set High Resolution and Frame Rates
Use maximum video resolution and 60fps frame rate for crisper motion footage. Consider lower resolutions to save memory.
Adjust Angle for Lighting
Angle camera to avoid pointing into bright sunlight and causing flare or shadows.
Clean Lens and Use Filters
Keep lens clean and utilize polarization filters to cut reflections and glare.
Advanced Shooting and Editing Techniques
Additional strategies enhance videos:
Utilize Slow Motion
Isolate spectacular tricks or trail features in slow motion to amplify the effect.
Shoot Steady Footage
Use camera stabilization tools when possible for smoother videos.
Add Graphics and Audio
Introduce videos with stylized text overlays. Enhance with background music.
Conclusion
With some preparation and practice, action cameras enable cyclists to make exhilarating first-person riding videos. Start with solid mounts, optimized camera settings, steady shooting techniques, and impactful editing to produce compelling bike footage.
1 Reviews
4.0 Overall rating
1 out of 1 (100%)
Customers recommended this post

