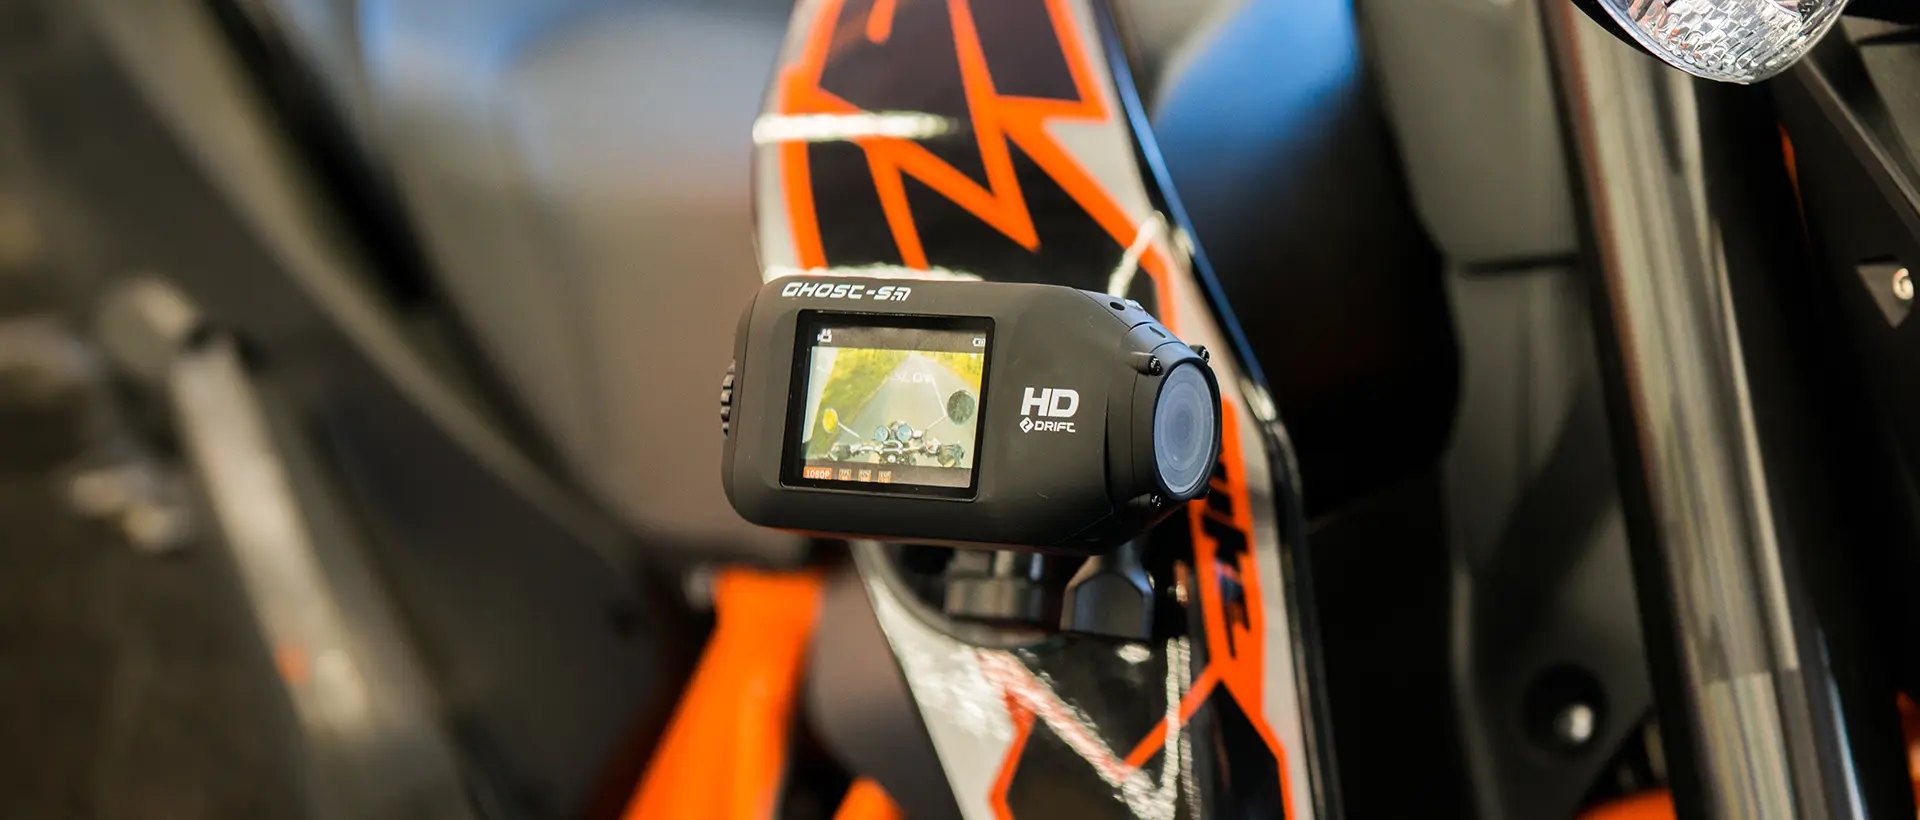
Fixing Your Action Camera to Your Motorcycle: A Complete Guide
0 Comments

Introduction
Capturing your motorcycle adventures on camera adds an extra dimension of excitement and allows you to relive those thrilling moments. To achieve steady and captivating footage, it's essential to properly mount your action camera on your motorcycle. In this guide, we will walk you through the process of fixing your action camera to your motorcycle, providing valuable tips and insights along the way. Get ready to document your two-wheeled journeys like a pro.
1. Choose the Right Mounting Location
The first step is to determine the ideal mounting location for your action camera. Consider factors such as stability, field of view, and the overall aesthetic appeal. Common mounting options include:
- Helmet mount: Provides a first-person perspective and captures the rider's point of view. - Handlebar mount: Offers a wider view of the road ahead and captures the motorcycle's movements. - Fork mount: Attaches the camera to the front fork for unique angles and smooth shots. - Tank mount: Provides a stable base and captures the rider's perspective while minimizing vibrations.
2. Select the Proper Mounting Equipment
Ensure you have the necessary mounting equipment to secure your action camera. This may include adhesive mounts, straps, clamps, or specialized motorcycle camera mounts. Opt for high-quality, durable mounts that are compatible with your camera model and designed for motorcycle use.
3. Prepare Your Motorcycle
Clean the mounting area on your motorcycle to ensure a strong and reliable attachment. Remove any dirt, debris, or grease that may affect the adhesion or stability of the camera mount. Choose a flat and smooth surface for optimal results.
4. Securely Attach the Mount
Follow the manufacturer's instructions to attach the mount securely to your chosen location. Ensure the mount is firmly fixed, using additional straps or reinforcements if necessary. Test the stability of the mount by gently shaking it before mounting your camera.
5. Mount Your Action Camera
Attach your action camera to the mount, ensuring it is firmly locked in place. Double-check that the camera is secure and properly aligned to capture the desired field of view. Consider using a safety tether as an extra precaution to prevent accidental camera detachment.
6. Adjust Camera Settings
Before hitting the road, review and adjust your camera settings. Ensure the camera is set to the desired resolution, frame rate, and field of view. Test the camera angle and framing to capture the best footage possible.
7. Check Camera Position during Stops
During breaks or longer stops, verify the camera's position and tighten the mount if necessary. Vibrations from the motorcycle's engine or road conditions can cause slight adjustments over time. Regularly inspect the mount and camera throughout your ride to maintain stability.
Conclusion
Mounting your action camera to your motorcycle opens up a world of possibilities for recording and sharing your thrilling rides. By selecting the right mounting location, using proper equipment, and ensuring a secure attachment, you can capture stunning footage that showcases the excitement of your motorcycle adventures. Remember to always prioritize safety and regularly check the mount and camera during your rides. Get ready to capture unforgettable moments and share your passion for motorcycling with the world.
0 Reviews
0 Overall rating
0 out of 0 (0%)
Customers recommended this post

